Are you ready to dive into the world of music production for beginners but don’t know where to start? You’re not alone! Many aspiring producers feel overwhelmed by the sheer amount of information and equipment out there. But don’t worry – this guide will walk you through everything you need to start music production at home, even if you’re on a budget. Let’s build your ultimate starter kit for music production for beginners!
1. A Computer: Your Music Production Hub
Your computer is the backbone of your music production setup, especially for music production for beginners. Whether you’re recording, editing, or mixing, a reliable computer ensures smooth performance and lets you focus on creating music. Here’s what you need to know about choosing the right computer for music production for beginners.
Why Do You Need a Good Computer?
- Run Your DAW: A powerful computer ensures your DAW runs smoothly, even with multiple tracks and plugins.
- Handle Large Files: Music projects can take up a lot of storage, especially with high-quality samples and recordings.
- Avoid Crashes: A stable system prevents frustrating crashes during critical moments.
Key Features to Look For
When choosing a computer for music production, consider these specifications:
- Processor (CPU):
- Why It’s Important: Handles the heavy lifting for your DAW and plugins.
- Recommended: Intel i5 or higher, or AMD Ryzen 5 or higher.
- Learn More: CPU Buying Guide
- RAM (Memory):
- Why It’s Important: Allows you to run multiple applications and plugins simultaneously.
- Recommended: At least 8GB (16GB or more for larger projects).
- Learn More: How Much RAM Do You Need?
- Storage:
- Why It’s Important: Stores your projects, samples, and software.
- Recommended: SSD (Solid State Drive) for faster load times and performance.
- Learn More: SSD vs HDD: What’s the Difference?
- Operating System:
- Windows: Compatible with most DAWs and plugins.
- Mac: Known for stability and optimized performance with software like Logic Pro X and GarageBand.
Laptop vs. Desktop
- Laptop:
- Pros: Portable, great for producers on the go.
- Cons: Limited upgrade options.
- Recommended: MacBook Pro or Dell XPS 15.
- Desktop:
- Pros: More power and upgradeability.
- Cons: Not portable.
- Recommended: Apple iMac or custom-built PCs.
Budget-Friendly Options
If you’re on a tight budget, here are some affordable options:
- Refurbished Computers: Check out Apple Refurbished or Dell Outlet.
- Older Models: Look for previous-generation models with solid specs.
Optimizing Your Computer for Music Production
Once you have your computer, follow these tips to optimize it for music production:
- Update Your Operating System: Ensure you’re running the latest version for stability and performance.
- Install Your DAW and Plugins: Set up your software and organize your plugins.
- Use an External Hard Drive: Store large files like samples and backups on an external drive to free up space.
- Disable Background Apps: Close unnecessary applications to free up resources.
Pro Tip
If you’re unsure about building or buying a computer, check out forums like Gearslutz or Reddit’s r/WeAreTheMusicMakers for recommendations tailored to music production.
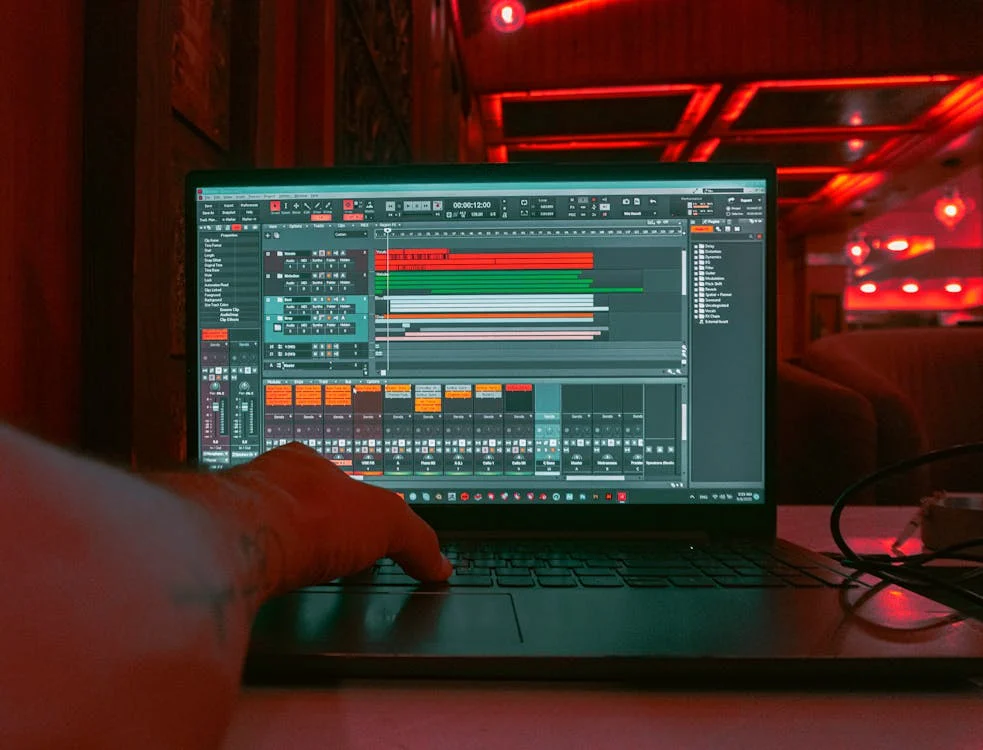
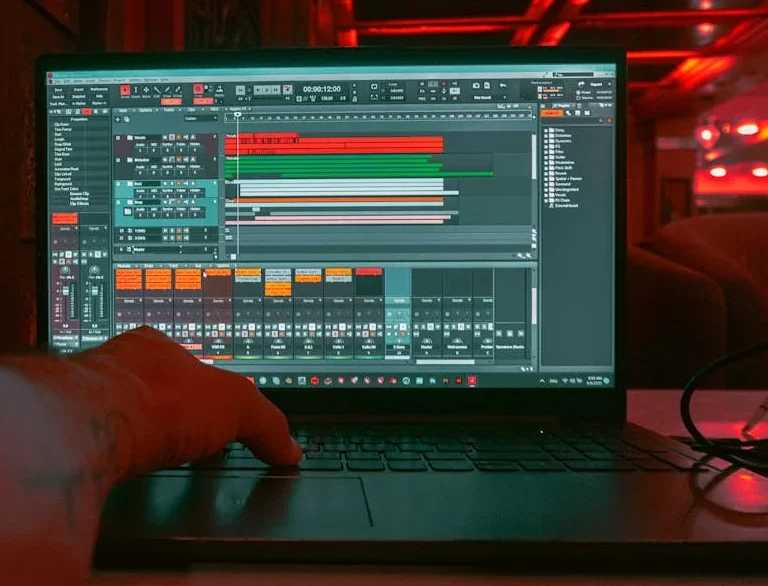
2. A Digital Audio Workstation (DAW)
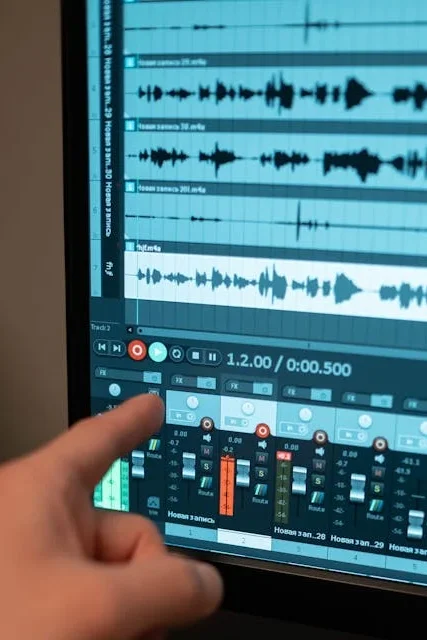
A Digital Audio Workstation, or DAW, is the software you’ll use to create, edit, and mix your music, making it a cornerstone of music production for beginners. Think of it as your virtual studio – it’s where all the magic happens! Whether you’re recording vocals, composing melodies, or mixing tracks, your DAW is the central hub for your music production process, especially for those just starting out in music production for beginners.
Why Do You Need a DAW?
- Recording: Capture audio from microphones or instruments.
- Editing: Cut, trim, and arrange audio clips.
- Mixing: Adjust volume, panning, and effects to balance your track.
- Mastering: Finalize your track for distribution.
Popular DAWs for Beginners
Here are some beginner-friendly DAWs to consider:
- FL Studio:
- Best For: Electronic music producers.
- Why It’s Great: User-friendly interface and a wide range of built-in plugins.
- Price: Starts at $99 (with a free trial available).
- Website: FL Studio
- Ableton Live:
- Best For: Live performances and electronic music.
- Why It’s Great: Intuitive workflow and powerful MIDI capabilities.
- Price: Starts at $99 (with a free trial available).
- Website: Ableton Live
- GarageBand (for Mac users):
- Best For: Absolute beginners.
- Why It’s Great: Free, easy to use, and comes pre-installed on Macs.
- Price: Free.
- Website: GarageBand
- Cakewalk by BandLab:
- Best For: Budget-conscious producers.
- Why It’s Great: Completely free with professional features.
- Price: Free.
- Website: Cakewalk by BandLab
- Logic Pro X (for Mac users):
- Best For: Advanced beginners ready to invest.
- Why It’s Great: Professional-grade tools and a vast library of sounds.
- Price: $199.
- Website: Logic Pro X
How to Choose the Right DAW
- Consider Your Budget: Start with free or affordable options if you’re on a tight budget.
- Think About Your Genre: Some DAWs are better suited for specific genres (e.g., FL Studio for electronic music).
- Try Before You Buy: Most DAWs offer free trials, so test a few to see which one feels right.
Getting Started with Your DAW
Once you’ve chosen a DAW, here’s how to get started:
- Learn the Interface: Familiarize yourself with the layout, tools, and menus.
- Explore Built-In Tutorials: Many DAWs come with beginner-friendly guides.
- Start Small: Create a simple beat or melody to get comfortable.
- Experiment: Don’t be afraid to try new features and plugins.
Pro Tip
If you’re overwhelmed by the options, start with a free DAW like Cakewalk by BandLab or GarageBand. As you grow, you can upgrade to more advanced software.
3. Studio Headphones
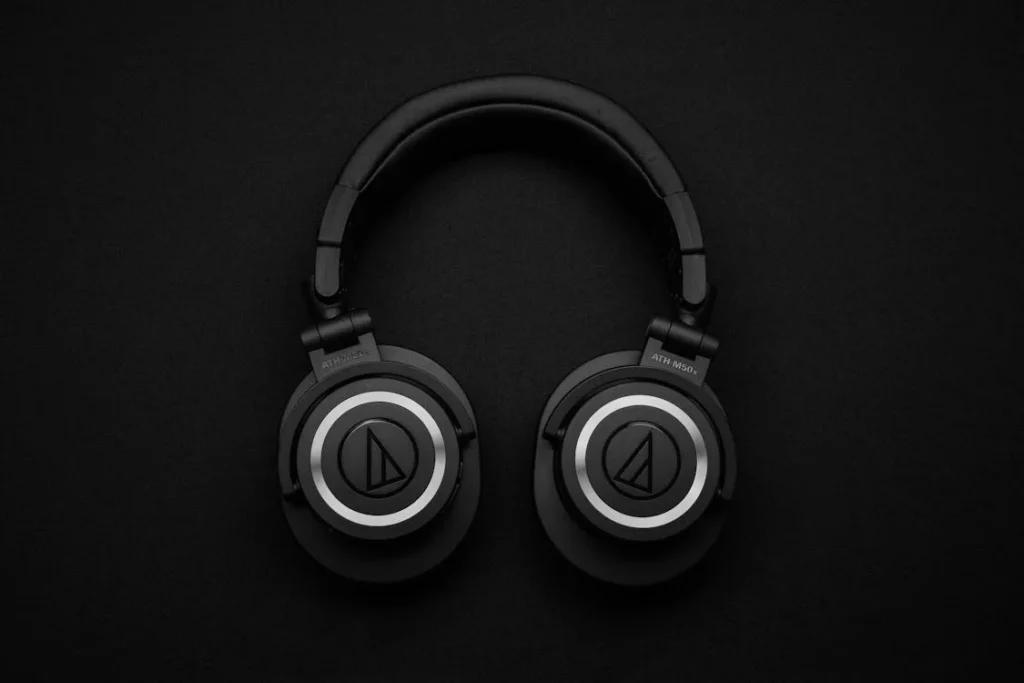
Studio headphones are a crucial piece of equipment for music production, especially for music production for beginners. They allow you to monitor your audio accurately, ensuring your mixes sound great on all devices. Whether you’re recording, mixing, or just listening, a good pair of headphones is essential for anyone starting their journey in music production for beginners.
Why Do You Need Studio Headphones?
- Accurate Sound Reproduction: Unlike regular headphones, studio headphones provide a flat frequency response, meaning they don’t color the sound.
- Isolation: Closed-back headphones block out external noise, making them ideal for recording.
- Detail: They help you hear subtle details in your mix, like reverb tails or background noise.
Key Features to Look For
When choosing studio headphones, consider these factors:
- Type:
- Closed-Back: Best for recording, as they prevent sound leakage.
- Open-Back: Great for mixing, as they provide a more natural soundstage.
- Learn More: Closed-Back vs. Open-Back Headphones
- Frequency Response:
- Why It’s Important: A flat frequency response ensures accurate sound reproduction.
- Recommended: Look for headphones with a range of 10Hz to 30kHz.
- Learn More: Understanding Frequency Response
- Comfort:
- Why It’s Important: You’ll be wearing them for hours, so comfort is key.
- Look For: Adjustable headbands padded ear cups, and lightweight designs.
- Impedance:
- Why It’s Important: Lower impedance headphones (under 80 ohms) are easier to drive without an amplifier.
- Learn More: Headphone Impedance Explained
Recommended Studio Headphones
Here are some great options for beginners:
- Audio-Technica ATH-M50x:
- Why It’s Great: Legendary sound quality and durability.
- Price: $149.
- Buy Here: Audio-Technica ATH-M50x
- Sony MDR-7506:
- Why It’s Great: Industry-standard headphones with a flat frequency response.
- Price: $99.
- Buy Here: Sony MDR-7506
- Beyerdynamic DT 770 Pro:
- Why It’s Great: Comfortable and great for long sessions.
- Price: $159.
- Buy Here: Beyerdynamic DT 770 Pro
- Sennheiser HD 280 Pro:
- Why It’s Great: Excellent noise isolation and sound quality.
- Price: $99.
- Buy Here: Sennheiser HD 280 Pro
How to Use Studio Headphones Effectively
- Check Your Mix on Multiple Devices: Use your headphones for detailed work but also test your mix on speakers and other headphones.
- Take Breaks: Prolonged headphone use can cause ear fatigue. Take regular breaks to protect your hearing.
- Use a Headphone Amplifier: If your headphones have high impedance, consider using a headphone amp for better sound quality.
Pro Tip
If you’re on a tight budget, start with the Audio-Technica ATH-M30x or Sony MDR-7506. Both offer excellent value for money and are perfect for beginners.
4. An Audio Interface
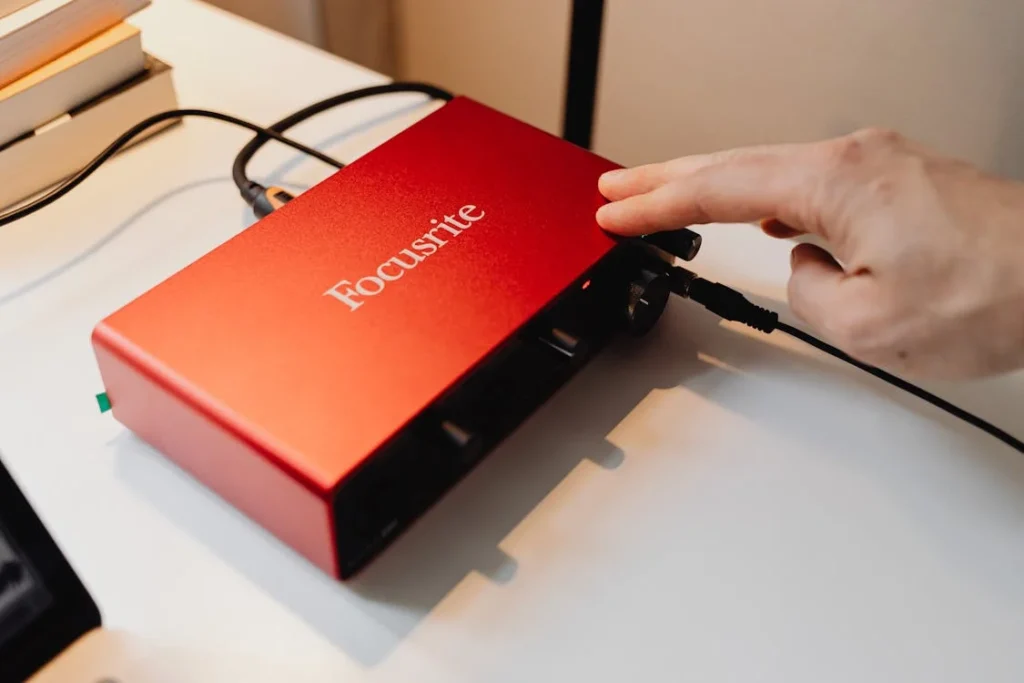
An audio interface is a must-have tool for any music producer, especially for music production for beginners. It acts as the bridge between your instruments, microphones, and your computer, ensuring high-quality audio recording and playback. Whether you’re recording vocals, guitars, or MIDI instruments, an audio interface is essential for capturing clean, professional sound, making it a key component of any beginner’s music production setup.
Why Do You Need an Audio Interface?
- Improved Sound Quality: Converts analog signals (from mics and instruments) into digital signals with minimal noise.
- Low Latency: Ensures real-time monitoring without delays.
- Connectivity: Provides inputs for microphones, instruments, and outputs for studio monitors or headphones.
Key Features to Look For
When choosing an audio interface, consider these factors:
- Inputs and Outputs:
- Why It’s Important: Determines how many devices you can connect at once.
- Recommended: At least 2 inputs (for mics and instruments) and 2 outputs (for monitors).
- Learn More: Audio Interface Buying Guide
- Phantom Power:
- Why It’s Important: Required for condenser microphones.
- Look For: +48V phantom power.
- Learn More: What is Phantom Power?
- Sample Rate and Bit Depth:
- Why It’s Important: Higher sample rates and bit depths provide better audio quality.
- Recommended: 24-bit/48kHz or higher.
- Learn More: Sample Rate and Bit Depth Explained
- Compatibility:
- Why It’s Important: Ensure the interface works with your computer and DAW.
- Check For: USB, Thunderbolt, or FireWire connectivity.
Recommended Audio Interfaces
Here are some great options for beginners:
- Focusrite Scarlett 2i2:
- Why It’s Great: Excellent sound quality, easy to use, and affordable.
- Price: $169.
- Buy Here: Focusrite Scarlett 2i2
- Behringer UMC22:
- Why It’s Great: Budget-friendly with solid performance.
- Price: $69.
- Buy Here: Behringer UMC22
- PreSonus AudioBox USB 96:
- Why It’s Great: Compact and reliable, with great preamps.
- Price: $99.
- Buy Here: PreSonus AudioBox USB 96
- M-Audio M-Track Solo:
- Why It’s Great: Simple and affordable, perfect for beginners.
- Price: $49.
- Buy Here: M-Audio M-Track Solo
How to Set Up Your Audio Interface
- Connect to Your Computer: Use the provided USB or Thunderbolt cable.
- Install Drivers: Download the latest drivers from the manufacturer’s website.
- Connect Your Gear:
- Plug microphones or instruments into the inputs.
- Connect studio monitors or headphones to the outputs.
- Configure Your DAW: Set the audio interface as your input/output device in your DAW settings.
Pro Tip
If you’re just starting out, the Focusrite Scarlett 2i2 is a fantastic choice. It’s affordable, reliable, and comes with free software like Ableton Live Lite and Pro Tools First.
5. A MIDI Keyboard
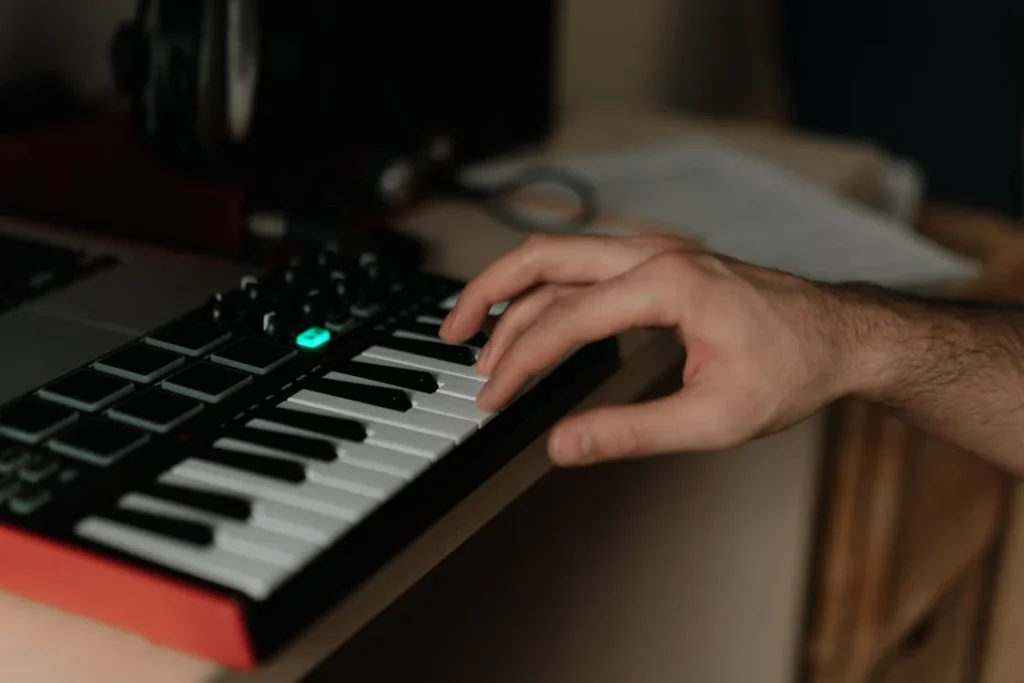
A MIDI keyboard is an essential tool for music producers, especially for music production for beginners. Whether you’re creating melodies, chords, or beats, a MIDI keyboard is a game-changer. Unlike traditional keyboards, MIDI keyboards don’t produce sound on their own – instead, they send data to your computer, which your DAW or virtual instruments use to generate sound. This makes them incredibly versatile and a must-have for any home studio, particularly for those starting their journey in music production for beginners.
Why Do You Need a MIDI Keyboard?
- Play Virtual Instruments: Control synths, pianos, drums, and more directly from your DAW.
- Speed Up Workflow: Playing melodies and chords is faster and more intuitive than drawing them in with a mouse.
- Expressiveness: Many MIDI keyboards come with features like velocity sensitivity and aftertouch for more dynamic performances.
Key Features to Look For
When choosing a MIDI keyboard, consider these factors:
- Number of Keys:
- Why It’s Important: Determines the range you can play.
- Recommended:
- 25 Keys: Compact and portable, great for small spaces.
- 49 Keys: Balanced size and range, ideal for most beginners.
- 61 or 88 Keys: Best for pianists or advanced producers.
- Learn More: How Many Keys Do You Need?
- Velocity Sensitivity:
- Why It’s Important: Allows you to play soft or loud notes based on how hard you press the keys.
- Look For: Fully velocity-sensitive keys for expressive playing.
- Pads and Knobs:
- Why It’s Important: Pads are great for drum programming, and knobs can control parameters like volume, filters, and effects.
- Recommended: At least 8 pads and 4-8 knobs for versatility.
- Portability:
- Why It’s Important: If you’re working in a small space or traveling, a compact keyboard is easier to manage.
- Look For: Lightweight and USB-powered models.
Recommended MIDI Keyboards
Here are some great options for beginners:
- Akai MPK Mini MK3:
- Why It’s Great: Compact, affordable, and packed with features like pads and knobs.
- Price: $119.
- Buy Here: Akai MPK Mini MK3
- M-Audio Keystation 49 MK3:
- Why It’s Great: Full-sized keys and a simple, reliable design.
- Price: $109.
- Buy Here: M-Audio Keystation 49 MK3
- Novation Launchkey Mini MK3:
- Why It’s Great: Integrates seamlessly with Ableton Live and comes with pads, knobs, and faders.
- Price: $109.
- Buy Here: Novation Launchkey Mini MK3
- Arturia MiniLab MKII:
- Why It’s Great: Comes with Analog Lab software, which includes thousands of synth sounds.
- Price: $109.
- Buy Here: Arturia MiniLab MKII
How to Use a MIDI Keyboard
- Connect to Your Computer: Use the provided USB cable to connect the keyboard to your computer.
- Install Drivers: Some keyboards require drivers, which you can download from the manufacturer’s website.
- Set Up in Your DAW:
- Assign the MIDI keyboard as an input device in your DAW settings.
- Load a virtual instrument and start playing!
- Experiment with Pads and Knobs:
- Use pads to trigger drum samples or loops.
- Map knobs to control effects like reverb, delay, or filters.
Pro Tip
If you’re on a tight budget, start with the Akai MPK Mini MK3 or M-Audio Keystation 49 MK3. Both are affordable, beginner-friendly, and packed with features to kickstart your music production journey.
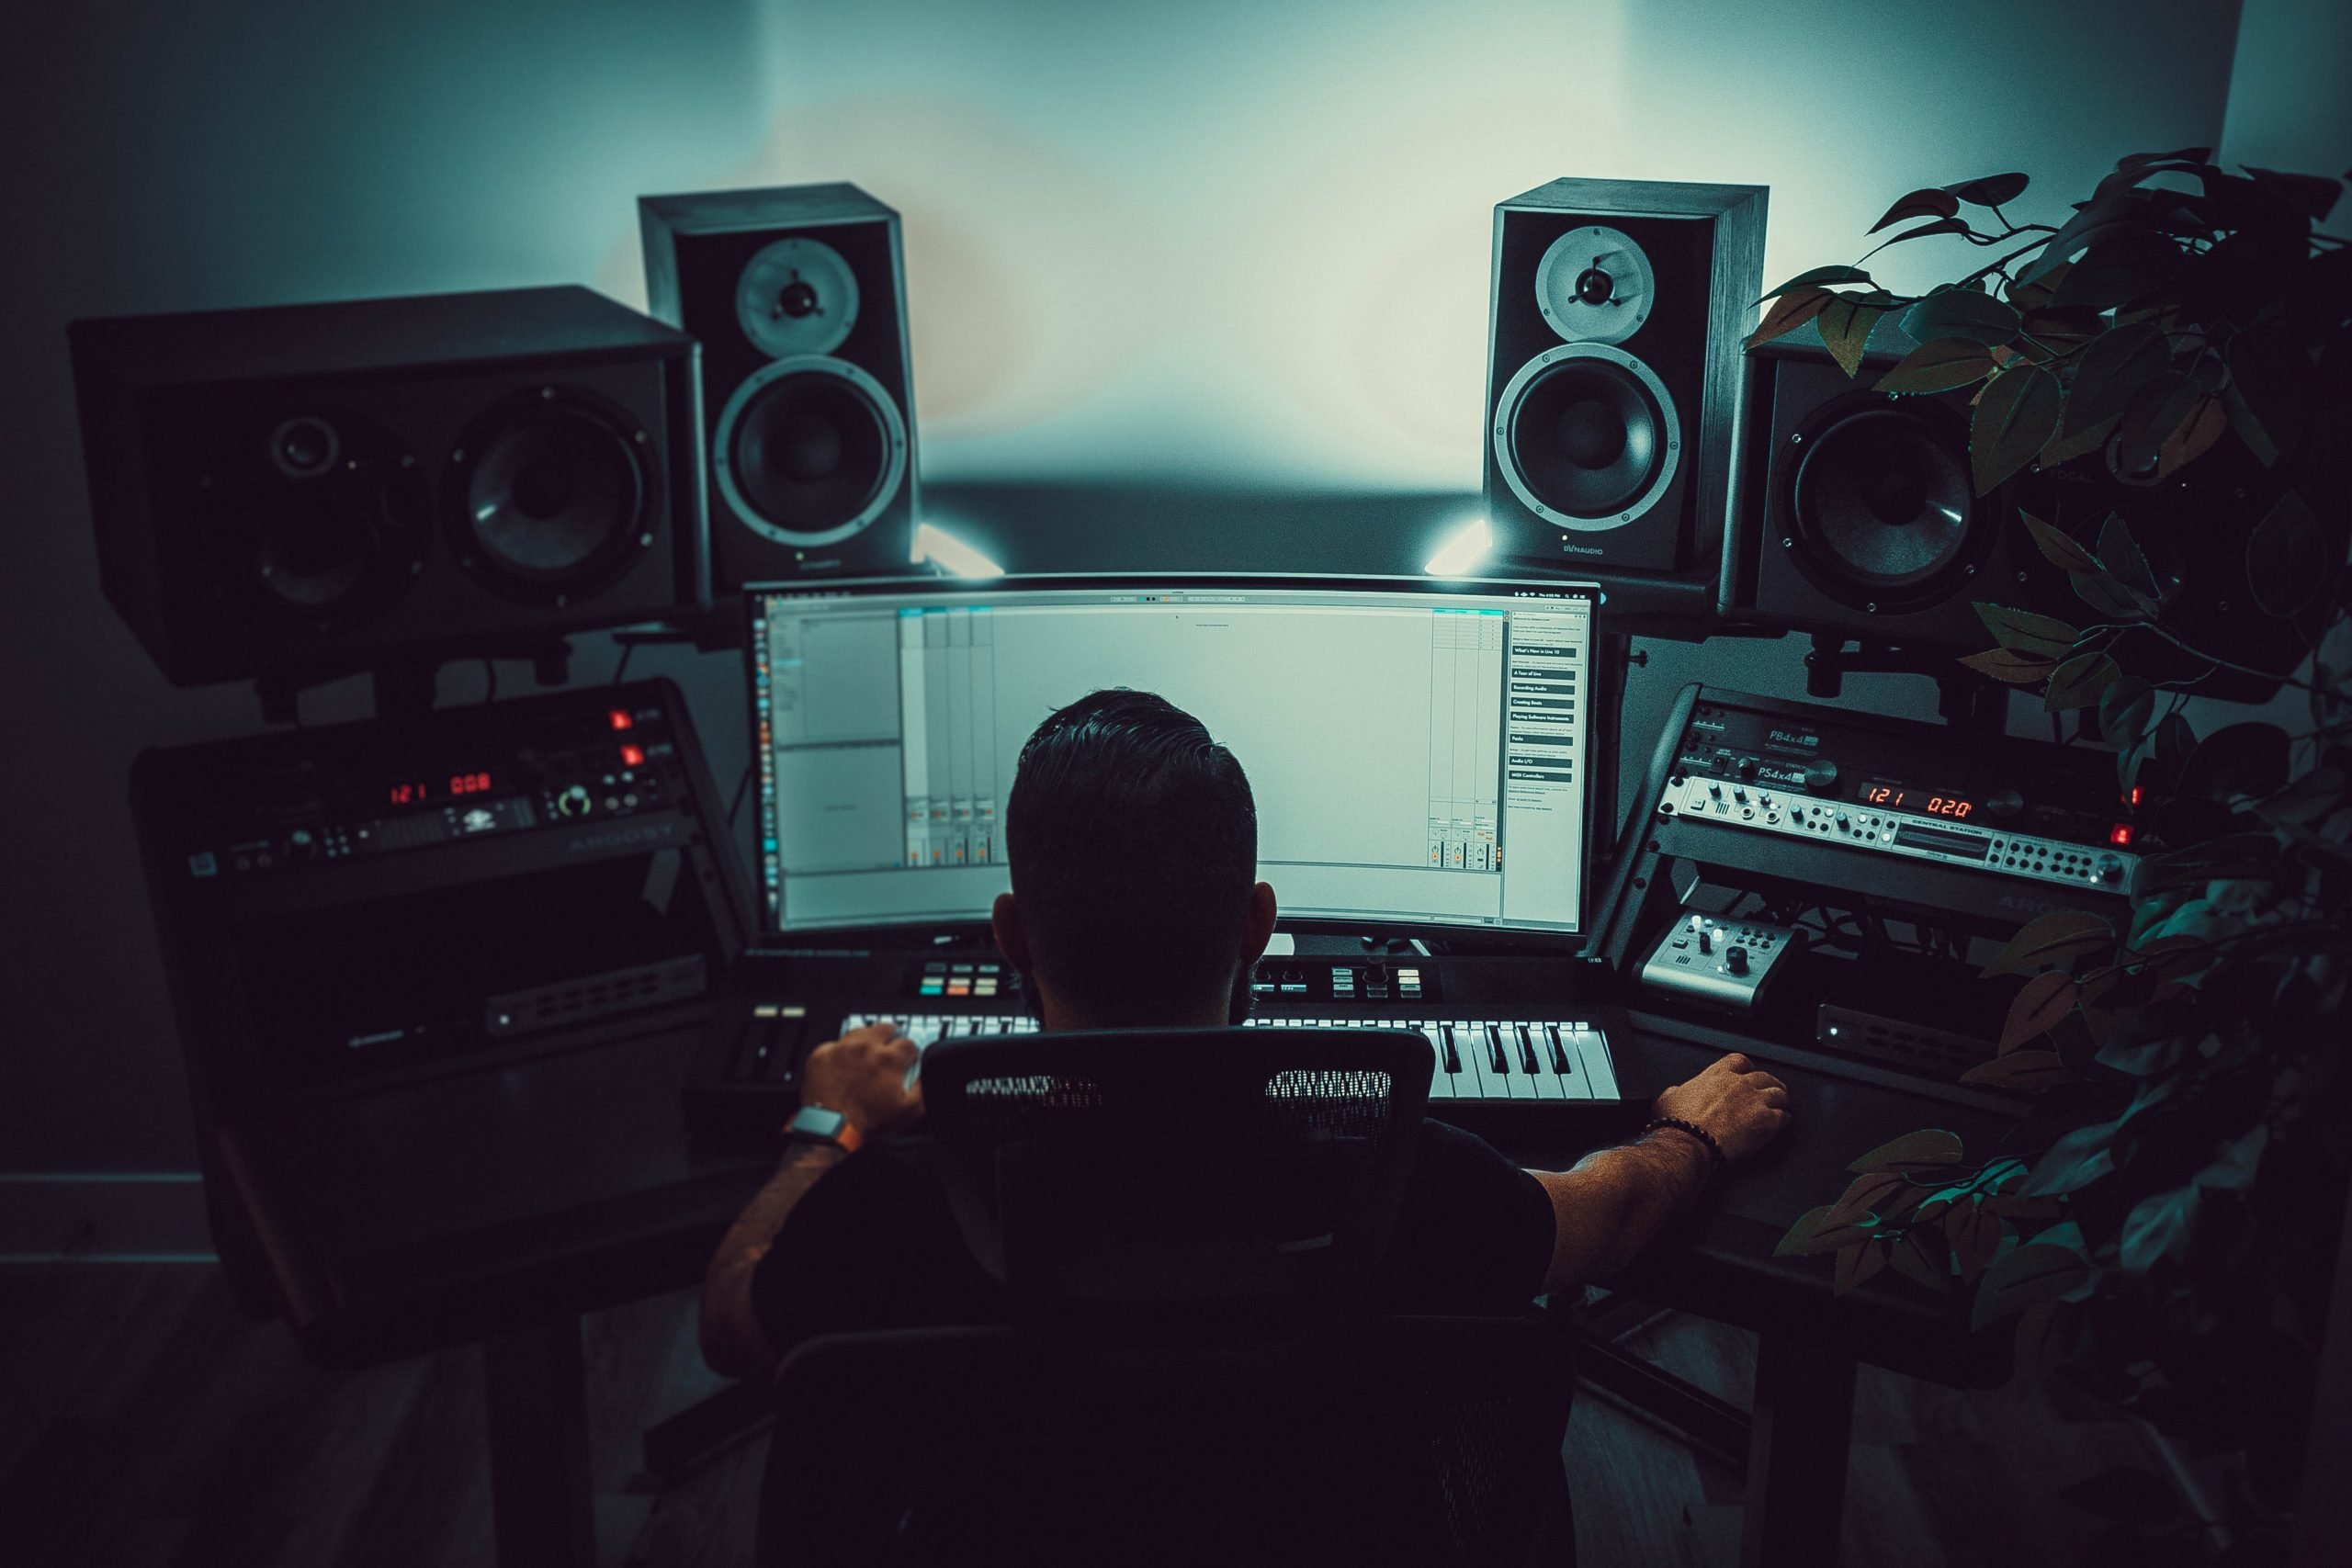
6. Studio Monitors (Optional)
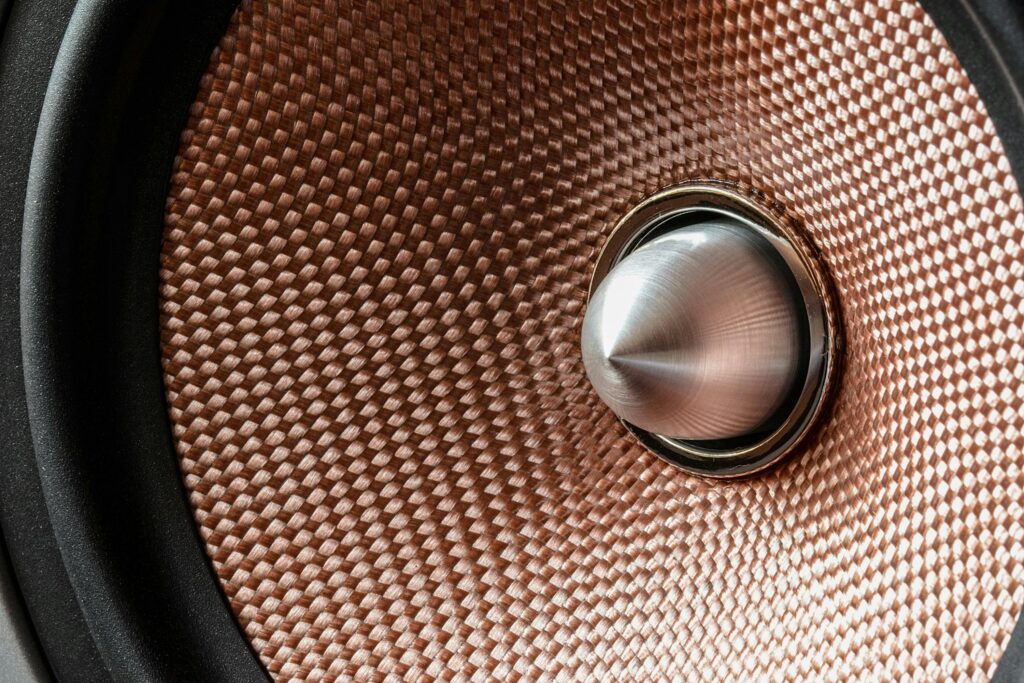
Studio monitors are specialized speakers designed for accurate audio reproduction, making them essential for mixing and mastering your music, especially for music production for beginners. Unlike regular speakers, they provide a flat frequency response, meaning they don’t boost or cut any frequencies. This allows you to hear your music exactly as it is, so you can make precise adjustments and improve your skills in music production for beginners.
Why Do You Need Studio Monitors?
- Accurate Mixing: Hear every detail in your track, from the low bass to the high treble.
- Better Decisions: Make informed decisions about EQ, compression, and effects.
- Professional Results: Ensure your music sounds great on all playback systems, from headphones to car speakers.
Key Features to Look For
When choosing studio monitors, consider these factors:
- Size:
- Why It’s Important: Larger speakers generally produce better bass response.
- Recommended:
- 5-inch: Great for small rooms or near-field monitoring.
- 6-8 inch: Ideal for medium-sized rooms and more bass-heavy music.
- Learn More: Choosing the Right Studio Monitor Size
2. Frequency Response:
- Why It’s Important: A wider frequency range ensures you hear all the details in your mix.
- Recommended: Look for monitors with a range of at least 50Hz to 20kHz.
- Learn More: Understanding Frequency Response
3. Active vs. Passive:
- Active Monitors: Have built-in amplifiers, making them easier to set up.
- Passive Monitors: Require an external amplifier but offer more customization.
- Learn More: Active vs. Passive Monitors
4. Room Acoustics:
- Why It’s Important: Your room’s acoustics can affect how your monitors sound.
- Tips: Use acoustic panels to reduce reflections and bass traps to control low frequencies.
- Learn More: Room Acoustics for Beginners
Recommended Studio Monitors
Here are some great options for beginners:
- Yamaha HS5:
- Why It’s Great: Industry-standard monitors with accurate sound.
- Price: $199 each.
- Buy Here: Yamaha HS5
2. KRK Rokit 5 G4:
- Why It’s Great: Affordable and popular among beginner producers.
- Price: $149 each.
- Buy Here: KRK Rokit 5 G4
3. JBL 305P MkII:
- Why It’s Great: Excellent sound quality and value for money.
- Price: $149 each.
- Buy Here: JBL 305P MkII
4. Adam Audio T5V:
- Why It’s Great: High-quality ribbon tweeters for detailed highs.
- Price: $199 each.
- Buy Here: Adam Audio T5V
How to Set Up Your Studio Monitors
- Positioning:
- Place the monitors at ear level, forming an equilateral triangle with your head.
- Angle them slightly inward, pointing directly at your listening position.
2. Acoustic Treatment:
- Use acoustic panels to reduce reflections and bass traps to control low frequencies.
3. Calibration:
- Use a reference track to test your monitors and adjust the volume to a comfortable level.
Pro Tip
If you’re on a tight budget, start with the KRK Rokit 5 G4 or JBL 305P MkII. Both offer excellent sound quality and are perfect for beginners.
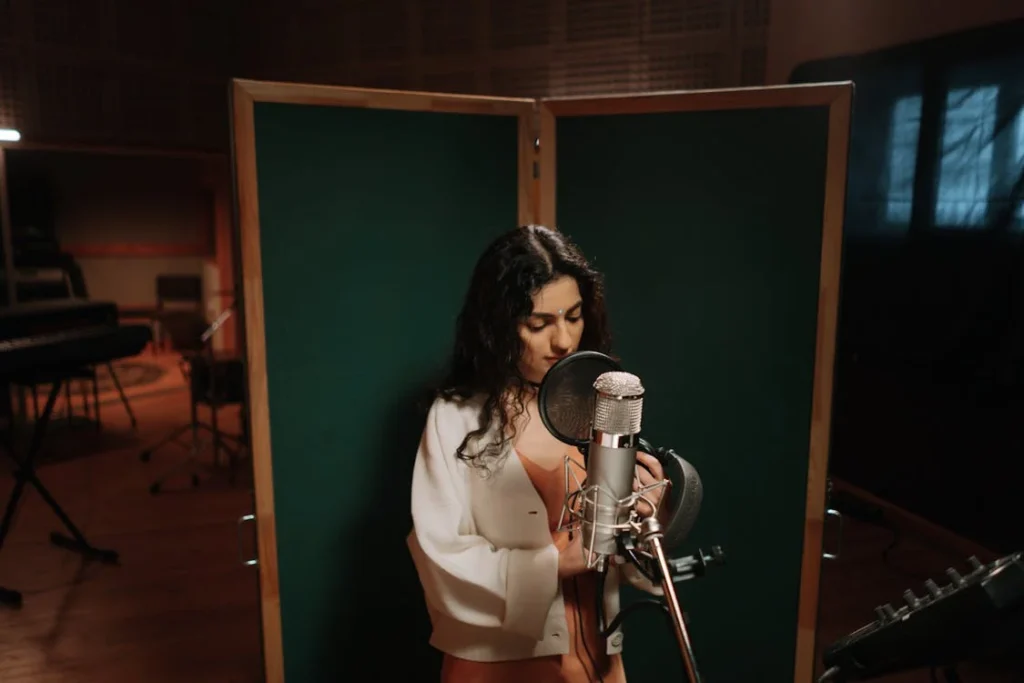
7. Microphone (Optional)
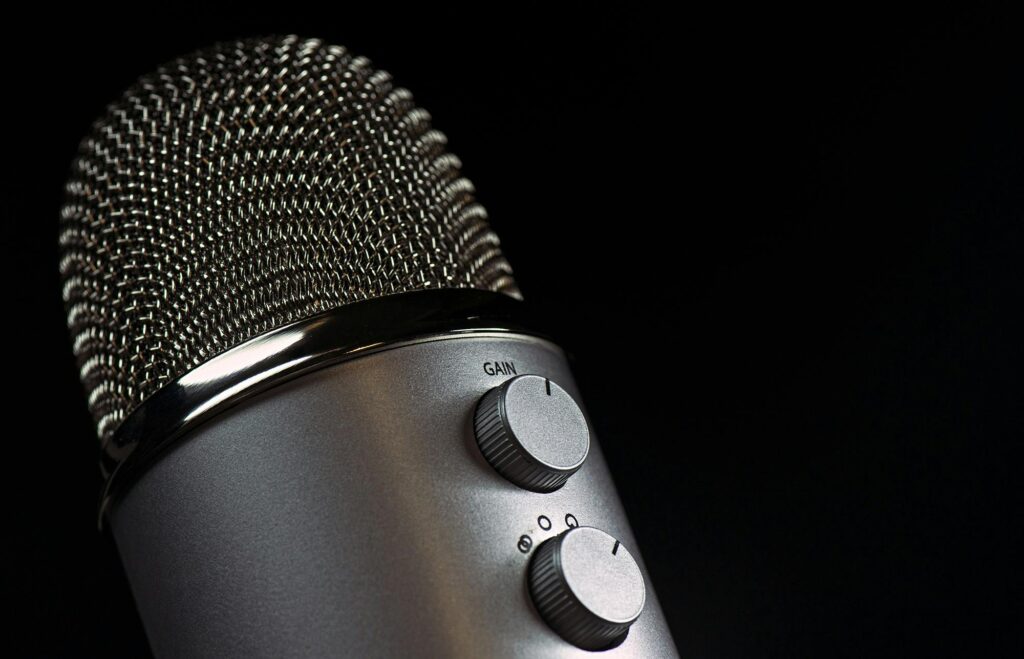
A microphone is an essential tool if you plan to record vocals, acoustic instruments, or even podcasts, making it a valuable addition to your music production for beginners setup. While not every music producer needs a microphone, having one opens up a world of creative possibilities. Whether you’re a singer, podcaster, or instrumentalist, a good microphone can make a huge difference in the quality of your recordings, helping you take your first steps in music production for beginners.
Why Do You Need a Microphone?
- Record Vocals: Capture professional-quality vocals for your tracks.
- Acoustic Instruments: Record guitars, pianos, drums, and more.
- Podcasting and Voiceovers: Perfect for creating spoken content.
Key Features to Look For
When choosing a microphone, consider these factors:
- Type:
- Condenser Microphones: Great for vocals and acoustic instruments. They’re sensitive and capture detailed sound but require phantom power.
- Dynamic Microphones: Durable and ideal for live performances or loud sources like drums and guitar amps.
- Learn More: Condenser vs. Dynamic Microphones
2. Polar Pattern:
- Why It’s Important: Determines how the microphone picks up sound.
- Recommended:
- Cardioid: Picks up sound from the front, ideal for solo vocals and instruments.
- Omnidirectional: Captures sound from all directions, great for group recordings.
- Learn More: Microphone Polar Patterns Explained
3. Connectivity:
- XLR: Requires an audio interface but provides professional-quality sound.
- USB: Plug-and-play, great for beginners but may lack the quality of XLR mics.
- Learn More: XLR vs. USB Microphones
4. Budget:
- Entry-Level: $50-$100 (great for beginners).
- Mid-Range: $100-$300 (better sound quality and features).
- High-End: $300+ (professional-grade sound).
Recommended Microphones
Here are some great options for beginners:
- Audio-Technica AT2020 (Condenser):
- Why It’s Great: Affordable and delivers excellent sound quality for vocals and instruments.
- Price: $99.
- Buy Here: Audio-Technica AT2020
2. Shure SM58 (Dynamic):
- Why It’s Great: Industry-standard for live vocals and durable enough for any situation.
- Price: $99.
- Buy Here: Shure SM58
3. Rode NT1-A (Condenser):
- Why It’s Great: Comes with a pop filter and shock mount, perfect for studio vocals.
- Price: $229.
- Buy Here: Rode NT1-A
4. Blue Yeti (USB Condenser):
- Why It’s Great: Plug-and-play USB microphone, ideal for podcasting and home recordings.
- Price: $129.
- Buy Here: Blue Yeti
How to Use a Microphone Effectively
- Positioning:
- For vocals, place the microphone about 6-12 inches from your mouth.
- For instruments, experiment with placement to find the best sound.
2. Pop Filter:
- Use a pop filter to reduce plosive sounds (like “p” and “b”).
3. Acoustic Treatment:
- Record in a quiet, treated room to minimize background noise and reflections.
4. Gain Staging:
- Set the gain on your audio interface to avoid clipping and ensure a clean signal.
Pro Tip
If you’re just starting out, the Audio-Technica AT2020 or Shure SM58 are fantastic choices. Both are affordable, reliable, and deliver professional-quality sound.
8. Free Plugins and Samples
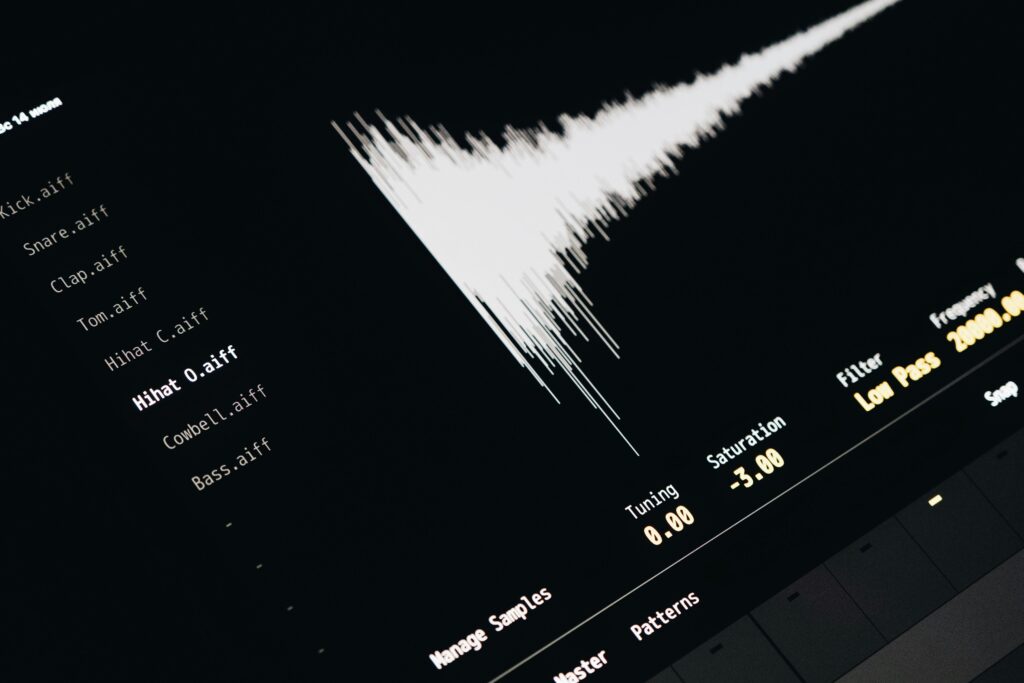
One of the best things about music production for beginners is that you don’t need to spend a fortune to get started. There are countless free plugins and sample packs available online that can help you create professional-quality music. Whether you’re looking for virtual instruments, effects, or drum samples, these free resources are a great way to expand your sound library without breaking the bank, making them perfect for anyone diving into music production for beginners.
Why Use Free Plugins and Samples?
- Experiment Without Risk: Try out new sounds and effects without spending money.
- Expand Your Toolkit: Add new instruments, effects, and samples to your productions.
- Learn and Grow: Free plugins are a great way to learn how different tools work.
Types of Free Plugins and Samples
- Virtual Instruments:
- Synths, pianos, strings, and more.
- Examples: Spitfire LABS, Vital, Dexed.
2. Effects Plugins:
- Reverb, delay, EQ, compression, and more.
- Examples: Valhalla Supermassive, TAL-Reverb, Blue Cat’s Freeware Pack.
3. Sample Packs:
- Drum loops, one-shots, and melodic samples.
- Examples: Free sample packs from Bedroom Producers Blog, Loopmasters Free Downloads.
Recommended Free Plugins
Here are some of the best free plugins for music production:
- Spitfire LABS:
- What It Is: A collection of high-quality virtual instruments, including strings, pianos, and pads.
- Download Here: Spitfire LABS
2. Vital:
- What It Is: A powerful wavetable synth with endless sound design possibilities.
- Download Here: Vital
3. Valhalla Supermassive:
- What It Is: A stunning reverb and delay plugin with unique soundscapes.
- Download Here: Valhalla Supermassive
4. TAL-Reverb-4:
- What It Is: A simple yet effective reverb plugin with a vintage vibe.
- Download Here: TAL-Reverb-4
5. Dexed:
- What It Is: A free FM synth based on the classic Yamaha DX7.
- Download Here: Dexed
Recommended Free Sample Packs
Here are some great sources for free samples:
- Bedroom Producers Blog:
- What It Is: A treasure trove of free sample packs for all genres.
- Download Here: Bedroom Producers Blog Free Samples
2. Loopmasters Free Downloads:
- What It Is: High-quality loops and one-shots for various genres.
- Download Here: Loopmasters Free Downloads
3. Splice Sounds (Free Tier):
- What It Is: Access a limited number of free samples each month.
- Download Here: Splice Sounds
4. Cymatics:
- What It Is: Free sample packs for EDM, hip-hop, and more.
- Download Here: Cymatics Free Samples
How to Use Free Plugins and Samples
- Install Plugins:
- Download the plugin and follow the installation instructions.
- Add the plugin to your DAW’s plugin folder.
2. Load Samples:
- Drag and drop samples into your DAW’s sampler or audio track.
3. Experiment:
- Try combining different plugins and samples to create unique sounds.
4. Organize:
- Keep your samples and plugins organized in folders for easy access.
Pro Tip
Start with Spitfire LABS for beautiful virtual instruments and Valhalla Supermassive for lush reverb and delay effects. Both are free and can instantly elevate your productions.
9. A Quiet Space
Creating music in a quiet, distraction-free environment is essential for producing high-quality tracks, especially for music production for beginners. Whether you’re recording vocals, mixing, or just brainstorming ideas, a well-organized and acoustically treated space can make a huge difference in your workflow and the final result, helping you build a solid foundation in music production for beginners.
Why Do You Need a Quiet Space?
- Better Recordings: Reduces background noise and unwanted echoes.
- Improved Focus: Helps you concentrate on your music without distractions.
- Accurate Mixing: Allows you to hear your tracks clearly and make precise adjustments.
How to Create a Quiet Space
Here are some tips to set up your ideal music production environment:
- Choose the Right Room:
- Why It’s Important: Smaller rooms are easier to treat acoustically.
- Tips: Pick a room with minimal outside noise (e.g., away from windows or busy streets).
- Soundproofing:
- Why It’s Important: Reduces noise from outside and prevents sound from leaking out.
- Tips:
- Use heavy curtains or acoustic panels on windows.
- Seal gaps under doors with draft stoppers.
- Add thick rugs or carpets to absorb sound.
- Learn More: DIY Soundproofing Tips
- Acoustic Treatment:
- Why It’s Important: Controls reflections and improves sound clarity.
- Tips:
- Use acoustic panels on walls to reduce echoes.
- Place bass traps in corners to control low frequencies.
- Use a reflection filter for microphone recordings.
- Learn More: Acoustic Treatment for Beginners
- Organize Your Space:
- Why It’s Important: A clutter-free space improves focus and creativity.
- Tips:
- Keep cables tidy with cable management tools.
- Use shelves or stands to organize gear.
- Set up your desk and chair ergonomically for comfort.
- Minimize Distractions:
- Why It’s Important: Helps you stay focused and productive.
- Tips:
- Turn off notifications on your phone and computer.
- Set specific work hours to avoid interruptions.
- Use noise-canceling headphones if needed.
Recommended Acoustic Treatment Products
Here are some affordable options for treating your space:
- Acoustic Panels:
- What It Is: Absorbs mid and high-frequency reflections.
- Buy Here: Auralex Acoustics Studiofoam Panels
- Bass Traps:
- What It Is: Controls low-frequency buildup in corners.
- Buy Here: Primacoustic London Bass Traps
- Reflection Filters:
- What It Is: Improves vocal recordings by reducing room reflections.
- Buy Here: sE Electronics Reflexion Filter
- Rugs and Curtains:
- What It Is: Absorbs sound and reduces echoes.
- Buy Here: Thick Rugs on Amazon or Acoustic Curtains on Amazon
Pro Tip
If you’re on a tight budget, start with DIY acoustic treatment. You can make your own acoustic panels using materials like rockwool and fabric. Check out this guide: DIY Acoustic Panels.
10. Patience and Practice
Finally, the most important part of your starter kit for music production for beginners is patience and practice. Music production is a skill that takes time to master, especially when you’re just starting out. Start small, experiment, and don’t be afraid to make mistakes. Every pro producer started as a beginner, and with dedication, you’ll grow your skills in music production for beginners.
Your Next Steps
Now that you know what you need for music production for beginners, it’s time to take action! Start by setting up your computer and DAW, then gradually add other equipment as your budget allows. Remember, the best way to learn is by doing – so start creating your first track today and take your first step into the world of music production for beginners!
FAQs
Q: Can I start music production for beginners without any equipment?
A: Yes! All you need is a computer and a free DAW to get started with music production for beginners. You can add other equipment later as you grow.
Q: How much does it cost to start music production for beginners?
A: You can start for free with a computer and free software, but a basic setup for music production for beginners, including headphones, an audio interface, and a MIDI keyboard, can cost around $300−$500.
Q: What’s the best DAW for music production for beginners?
A: FL Studio and GarageBand are great options for music production for beginners due to their user-friendly interfaces and beginner-friendly features.
Conclusion
Starting music production for beginners doesn’t have to be complicated or expensive. With this ultimate starter kit, you’ll have everything you need to create your first track from the comfort of your bedroom. So, what are you waiting for? Start your music production for beginners journey today and unleash your creativity!
Ready to Start Your Music Production Journey?
Ready to dive deeper and learn how to market your music as part of your music production for beginners journey? Check out our Beginner’s Guide to Digital Marketing and download our free sample packs to get started!
Tags: Bedroom music production, Beginner music production setup, Best DAW for beginners, Digital Audio Workstation (DAW), Free plugins for music production, Home studio setup, How to start music production, Music production equipment, Music production essentials, Music production for beginners, Music production guide, Music production on a budget, Music production software, Music production tips, Music production tools
One response to “Music Production for Beginners: The Ultimate Starter Kit”
-
Hi, this is a comment.
To get started with moderating, editing, and deleting comments, please visit the Comments screen in the dashboard.
Commenter avatars come from Gravatar.
Leave a Reply